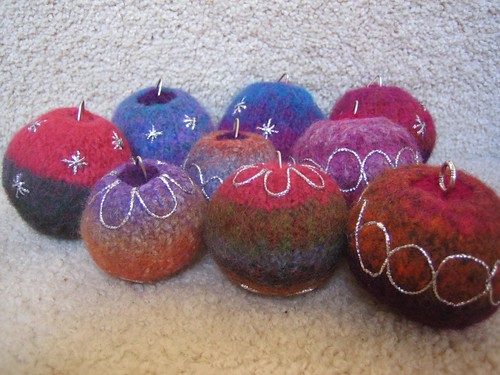
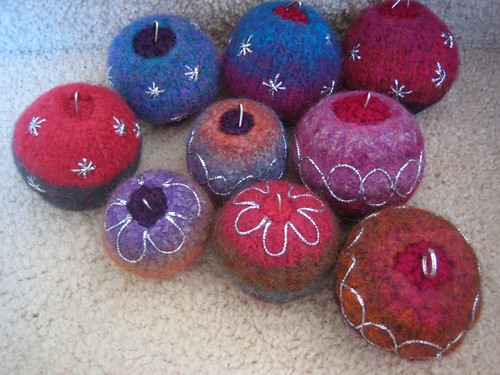
1. Knit
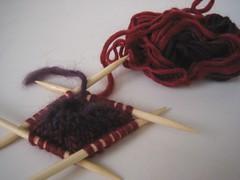
I knit these ornaments using exactly the same concept as my pod pattern. I vary the number of stitches cast on, the needle size, and the number and spacing of increase and decrease rows to suit the wool, and to get what seems like a nice spherical shape - allowing for a little more vertical than horizontal shrinkage.
2. Crochet a circle for the top.

3. Felt both pieces.
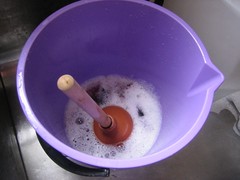
4. While it's wet, stuff with a plastic bag and spend some time rolling it into a nice spherical shape.
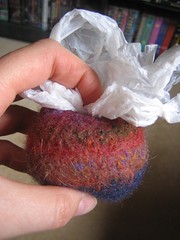
5. Once it's dry, pull out the plastic bag and then apply decoration.
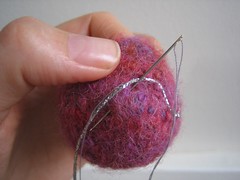
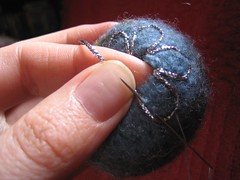
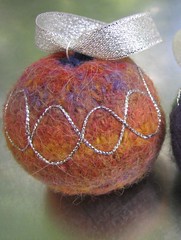
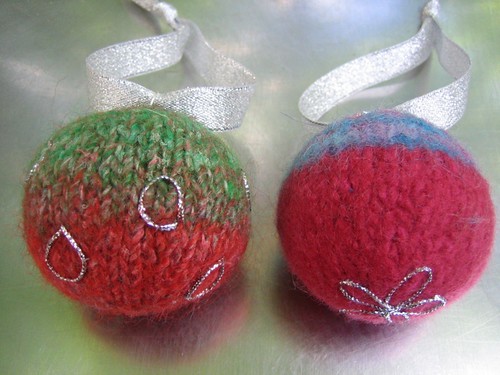
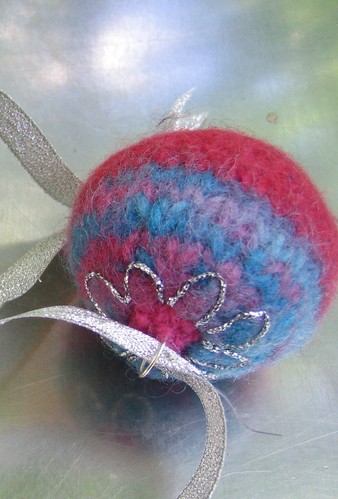
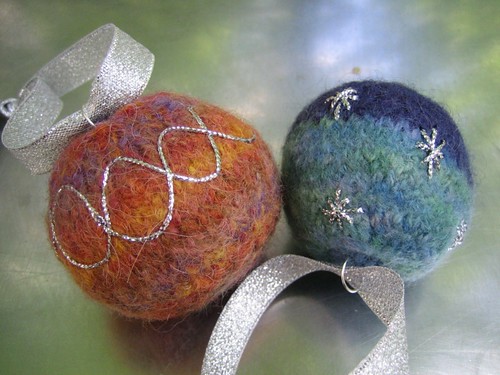
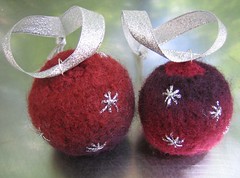
The embroidery technique in both of these pictures is couching. I use intermittent stitches in grey sewing thread to hold down the silver thread. You can only see the sewing thread if you look pretty closely. I decided to try couching because I knew from trying to cross stitch with metallic thread years ago that it can be a massive pain with all the fraying and kinking. I can put up with it to directly stitch simple shapes like the stars/asterisks in the picture below, though.
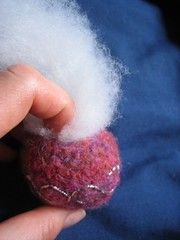
6. Fill with polyester stuffing. As planned earlier, I've also been keeping all my wool ends in a jar and using them as stuffing as well.
7. Poke a large jump ring through the top piece.

Then I stitch the top piece inside the rim of the main piece, and use a few stitches to make sure the jump ring is held securely. Sewing felt pieces together is so satisfying because you can virtually make the stitches disappear into the felt.
8. Thread onto a silver ribbon. Done.