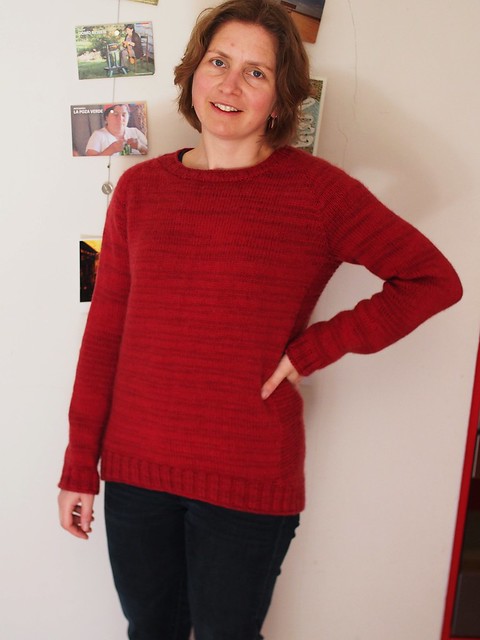
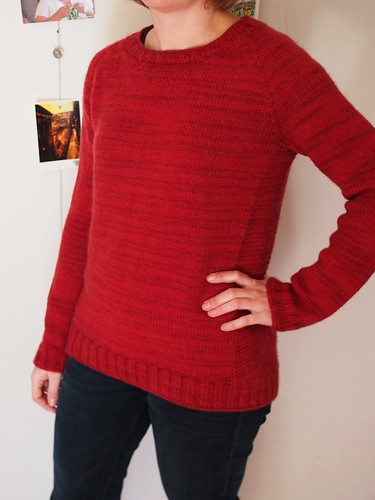
This jumper, Daelyn is a quick and easy knit. And it went pretty fast, at least during the time I was working on it, but took a good four months overall because I kept putting it aside for other projects.
It didn't help that after reaching the hem, I decided to reknit the body from the armholes down, as I wasn't quite happy with how it was turning out. That's a great feature of knitting top-down in the round - it's easy to try on as you go.
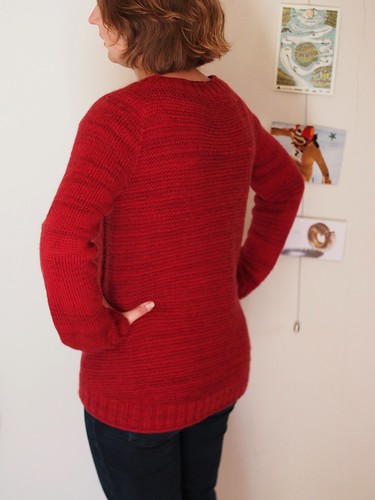
The pattern has these sloping lines which start at the sides and move into the front. It's not waist shaping - though it sort of gives a shaped effect - you are simply increasing the garter stitch back section at the same time as decreasing the stocking stitch front section.
Since I was using 8 ply wool (a mystery merino cashmere bought cheap from the Mill Shop) and the pattern is written for worsted weight, I did some maths and chose the size, a couple of stops up from my usual, that would work with my stitch gauge. I wasn't so worried about row gauge, especially once I could try it on and see that the raglan shaping and armholes seemed to fit ok. And this worked well on the whole. But I really didn't like how sharply those lines down the side angled inwards, which would be affected by row gauge. There seemed to be too much clingy garter stitch section and then a funny 'stomach pocket' effect at the front.
I looked at examples others had made and a few others were similar, but it seemed from the pattern photos that that sharper angle probably wasn't what the designer intended. In any case, it wasn't what I wanted. I also hadn't made it as long as I really wanted. And I had also found that the short rows the pattern has you do at the back before the hem had only just made it about as long as the front, when they were supposed to make it slightly longer at the back.
So on the reknit, I did those increase/decrease rows only half as often - every 12 instead of every 6 rows. I also did almost twice as many short rows in that pre-hem section, and I was much happier with the results. You can see it's still only slightly longer at the back - which is fine, I didn't want a mullet hem, but I didn't want the front to be longer than the back!
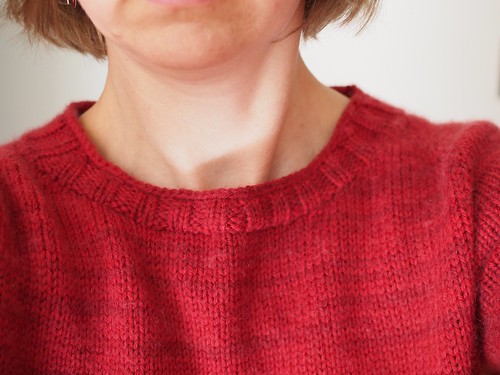
The neckline area wasn't fitting well each time I tried it on, and I was worried that I would have to do something really tricky in picking up for the collar, I even thought about adding two very deliberate tucks in the front to pull it in. But when I saw it with the sleeves finished I could see that maybe it wasn't that dire. It was lower in the back than the front, and very wide at the sides. I thought I'd try doing a few short rows around the sides and back and it worked! It allowed me to add more collar length where I needed it and keep it from choking me at the front. I also did a very few decreases in the last couple of rows to pull it in a little bit more. Now I am really happy with the fit: the wrinkling in the above photo is only because I was holding the camera out, it actually sits quite nicely.
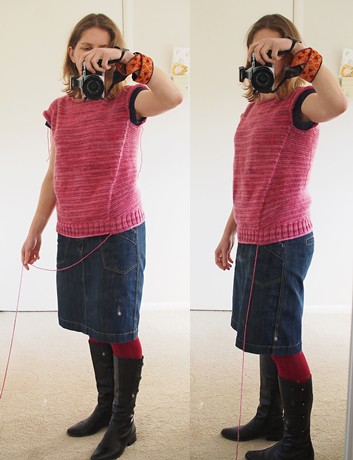
I don't know if you've guessed from these photos, but the final thing I did was overdye it red. When I bought the yarn it was only available in pink - this brighter pinks-n-purples variegated and a paler pink (I also have one skein of that). I was pretty sure I wouldn't wear it like that but I could see that dying could work to make it redder, or oranger - even shades of brown would have been okay. As I was knitting it I could see that the fabric was very soft and it quickly became fuzzy with handling. This made me even more sure I needed it to be a different colour. Although I do wear pink, pink AND fuzzy was very not me.
1 comment:
What a perfect sweater. It looks comfortable and it's classic. I am a pink person but I agree with your decision to go red. It's gorgeous as a red sweater and would get way more useage for me.
Post a Comment